1、安装依赖、关闭防火墙
[root@localhost ~]# yum install wget gcc gcc-c++ pcre pcre-devel openssl openssl-devel zlib zlib-devel
[root@localhost ~]# systemctl stop firewalld1
[root@localhost ~]# systemctl disable firewalld
2、创建nginx启动用户
注意:会在/home目录生成对应www的用户目录,root/www才能被访问
[root@localhost ~]# /usr/sbin/groupadd -f www ---建立用户组 www
[root@localhost ~]# /usr/sbin/useradd -g www www ---添加用户 www
3、下载nginx
[root@localhost ~]# cd /usr/local/src
[root@localhost ~]# wget http://nginx.org/download/nginx-1.14.0.tar.gz
4、解压并编译安装
[root@localhost ~]# tar zxf nginx-1.14.0.tar.gz
[root@localhost ~]# cd nginx-1.14.0
[root@localhost ~]# ./configure --user=www --group=www --prefix=/usr/local/nginx --with-http_stub_status_module --with-http_ssl_module --with-http_v2_module --with-http_gzip_static_module --with-http_sub_module
[root@localhost ~]# make
[root@localhost ~]# make install
5、设置nginx软连接
[root@localhost ~]# ln -sv /usr/local/nginx/sbin/nginx /usr/local/sbin/
6、配置nginx服务并设置开机自启
设置service启动的方式
[root@localhost ~]# wget -P /etc/init.d/ http://down.whsir.com/downloads/nginx
若上方链接不可用,那么我们手动创建并添加下面红色字体
[root@localhost ~]# vim /etc/init.d/nginx
点击查看代码
#! /bin/sh
# chkconfig: 2345 55 25
# Description: Startup script for nginx webserver on Debian. Place in /etc/init.d and
# run 'update-rc.d -f nginx defaults', or use the appropriate command on your
# distro. For CentOS/Redhat run: 'chkconfig --add nginx'### BEGIN INIT INFO
# Provides:          nginx
# Required-Start:    $all
# Required-Stop:     $all
# Default-Start:     2 3 4 5
# Default-Stop:      0 1 6
# Short-Description: starts the nginx web server
# Description:       starts nginx using start-stop-daemon
### END INIT INFOPATH=/usr/local/sbin:/usr/local/bin:/sbin:/bin:/usr/sbin:/usr/bin
NAME=nginx
NGINX_BIN=/usr/local/nginx/sbin/$NAME
CONFIGFILE=/usr/local/nginx/conf/$NAME.conf
PIDFILE=/usr/local/nginx/logs/$NAME.pid
if [ -s /bin/ss ]; thenStatBin=/bin/ss
elseStatBin=/bin/netstat
ficase "$1" instart)echo -n "Starting $NAME... "if $StatBin -tnpl | grep -q nginx;thenecho "$NAME (pid `pidof $NAME`) already running."exit 1fi$NGINX_BIN -c $CONFIGFILEif [ "$?" != 0 ] ; thenecho " failed"exit 1elseecho " done"fi;;stop)echo -n "Stoping $NAME... "if ! $StatBin -tnpl | grep -q nginx; thenecho "$NAME is not running."exit 1fi$NGINX_BIN -s stopif [ "$?" != 0 ] ; thenecho " failed. Use force-quit"exit 1elseecho " done"fi;;status)if $StatBin -tnpl | grep -q nginx; thenPID=`pidof nginx`echo "$NAME (pid $PID) is running..."elseecho "$NAME is stopped."exit 0fi;;force-quit|kill)echo -n "Terminating $NAME... "if ! $StatBin -tnpl | grep -q nginx; thenecho "$NAME is is stopped."exit 1fikill `pidof $NAME`if [ "$?" != 0 ] ; thenecho " failed"exit 1elseecho " done"fi;;restart)$0 stopsleep 1$0 start;;reload)echo -n "Reload service $NAME... "if $StatBin -tnpl | grep -q nginx; then$NGINX_BIN -s reloadecho " done"elseecho "$NAME is not running, can't reload."exit 1fi;;configtest)echo -n "Test $NAME configure files... "$NGINX_BIN -t;;*)echo "Usage: $0 {start|stop|restart|reload|status|configtest|force-quit|kill}"exit 1;;esac
[root@localhost ~]# chmod +x /etc/init.d/nginx
设置开机自启动
[root@localhost ~]# chkconfig --add nginx
[root@localhost ~]# chkconfig nginx on
7、启动nginx
[root@localhost ~]# /etc/init.d/nginx start 启动
[root@localhost ~]# service nginx start 启动
[root@localhost ~]# service nginx stop 停止
[root@localhost ~]# service nginx restart 重启
[root@localhost ~]# service nginx status 查看nginx的经常状态
8、添加环境变量 ---------作用-----在任何目录下执行nginx命令都有效果
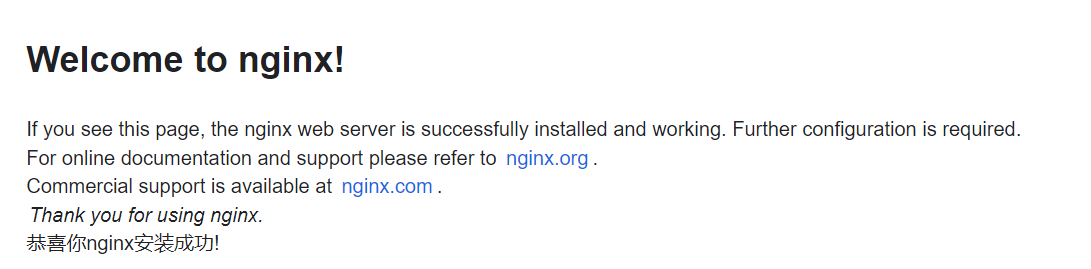
最后访问http://IP即可看到nginx欢迎页,默认欢迎页面在/usr/local/nginx/html目录下
附:添加环境变量方法
[root@localhost ~]# vi /etc/profile
export PATH=$PATH:/usr/local/nginx/sbin
保存退出,执行以下命令使其生效
[root@localhost ~]# source /etc/profile
9、访问
http://IP/
10、修改nginx.conf配置文件
将下面的全部复制到nginx.conf
[root@localhost ~]# vim /usr/local/nginx/conf/nginx.conf
点击查看代码
#user nobody;
worker_processes 1;events {worker_connections 1024;
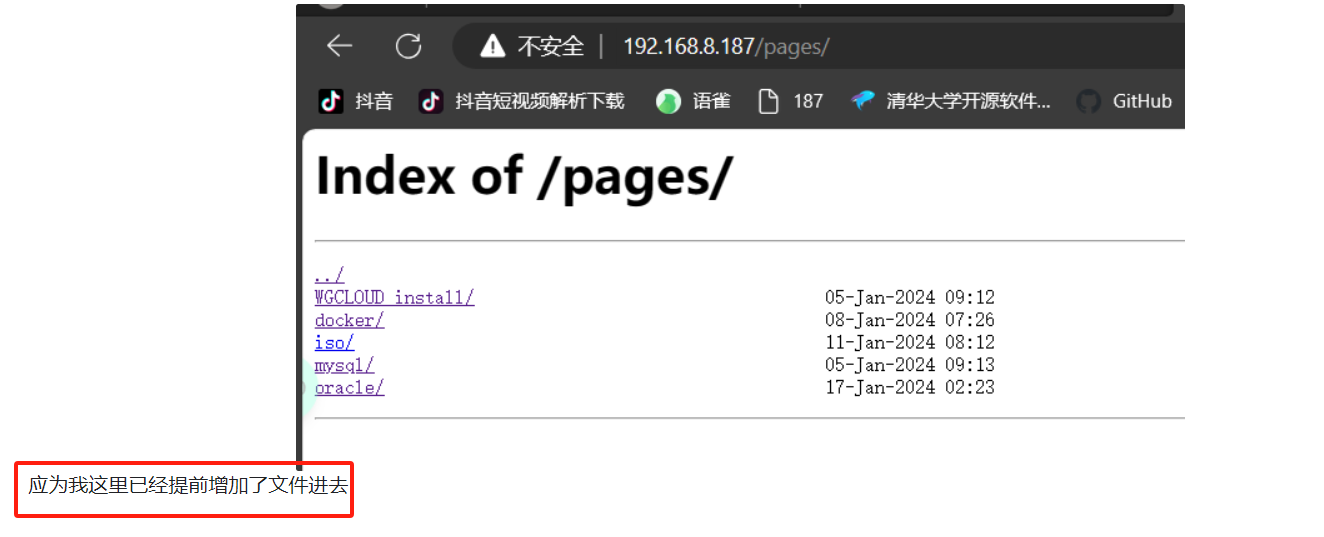
}http {include mime.types;default_type application/octet-stream;sendfile on;keepalive_timeout 65;server {listen 80;server_name localhost;charset utf-8;location / {root html;index index.html indexcharset utf-8;}error_page 500 502 503 504 /50x.html;location = /50x.html {root html;}location /pages {alias /home/www/pages;autoindex on;}}}11、访问
http://IP/pages
12、小知识1
将/home/www/pages映射到/root/aaa
[root@localhost ~]# mount --bind /home/www/pages /root/aaa
这将在文件系统级别创建一个映射,是的/home/www/pages你被人在/root/aaa/中也可见。任何对/root/aaa的更改都将反映在/home/www/pages中
要使这个挂载在系统启动时生效,要编辑vim /etc/fstab文件
[root@localhost ~]# vim /etc/fstab
添加下面这行
/home/www/pages /root/aaa none bind 0 0
然后运行下面命令使更改生效
[root@localhost ~]# mount -a
13、小知识2

若想向上面那样,需要修改index.html文件
[root@localhost ~]# cd /usr/local/nginx/html
[root@localhost ~]# vim index.html
点击查看代码
<!DOCTYPE html>
<html lang="en">
<head><meta charset="UTF-8"><meta http-equiv="X-UA-Compatible" content="IE=edge"><meta name="viewport" content="width=device-width, initial-scale=1.0"><title>点击跳转到目录界面</title><style>body {display: flex;align-items: center;justify-content: center;text-align: center;background-image: url('爱情公寓.jpg');background-size: cover;background-repeat: no-repeat;background-attachment: fixed;background-position: center;height: 100vh; /* 设置body占据整个视口高度 */margin: 0; /* 去除默认的body外边距 */}h1 {color: red;font-size: 36px;}a {color: green;text-decoration: none;}</style>
</head>
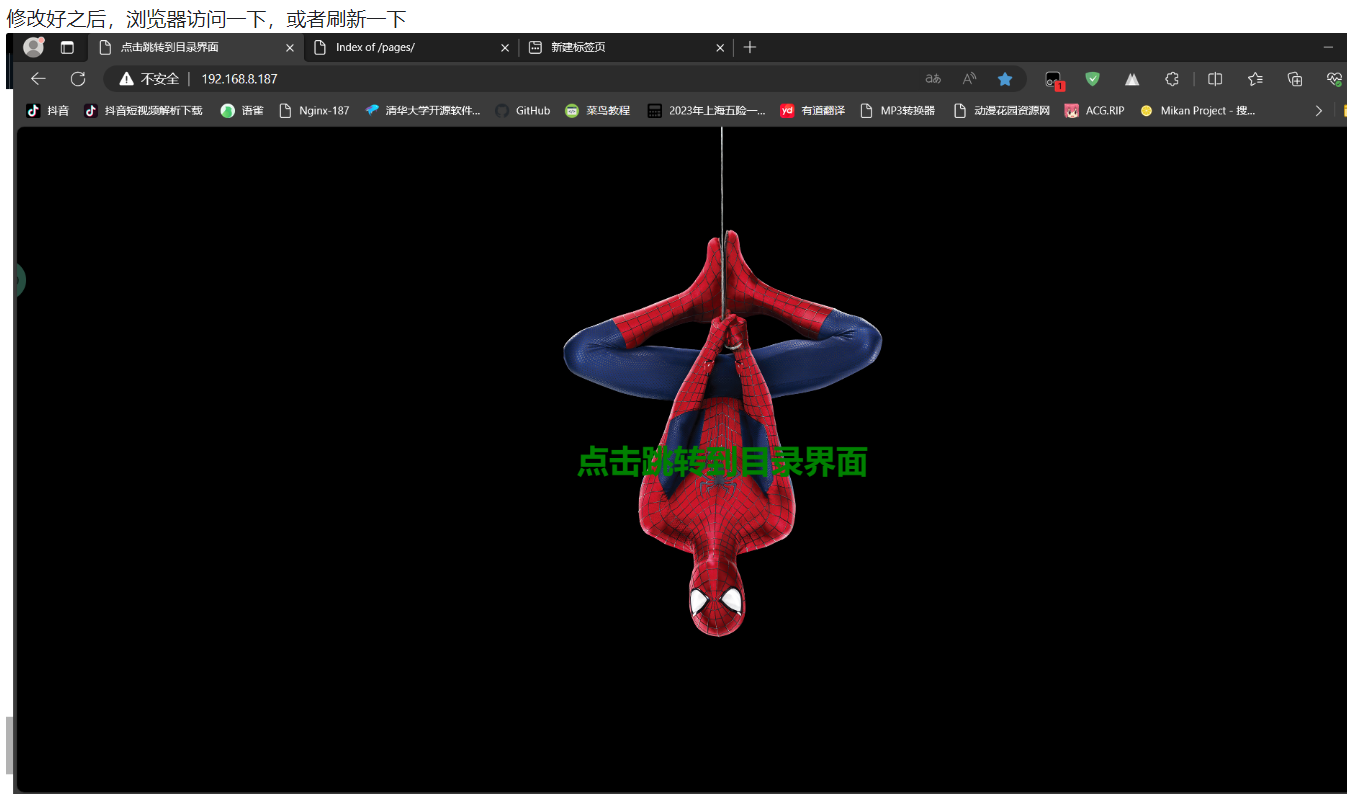
<body><h1><a href="http://192.168.8.187/pages/" target="_blank">点击跳转到目录界面</a></h1>
</body>
</html>

若想更换背景图只需修改 background-image: url('爱情公寓.jpg');中的"爱情公寓.jpg"
示例:
我想将背景更换为蜘蛛侠,找到下面这行,修改图片名称即可,其他代码不用动
background-image: url('蜘蛛侠.jpg');

![[Python]知识点](https://img-blog.csdnimg.cn/3612d6d96a1b4ecba3ba83a9adc3658b.jpeg)
